
In this article, you will learn how to add a beautiful gradient effect to text in #Wix_Studio using #CSS. In Wix Studio, although we have the Text Mask elements that allow users to add gradients, they are not so good with performance, design options, and responsive behaviour.
Using CSS will make the effect smoother and won’t affect the original settings of your text. The full code is added with full implementation guidelines.
If you find the tutorial helpful, please take a moment to rate the article, ask questions, or provide feedback in the comments. I will really appreciate it.
The CSS Code
As mentioned earlier, we will use the #CSS_code to add a cool gradient to our text. The code we will use is as follows –
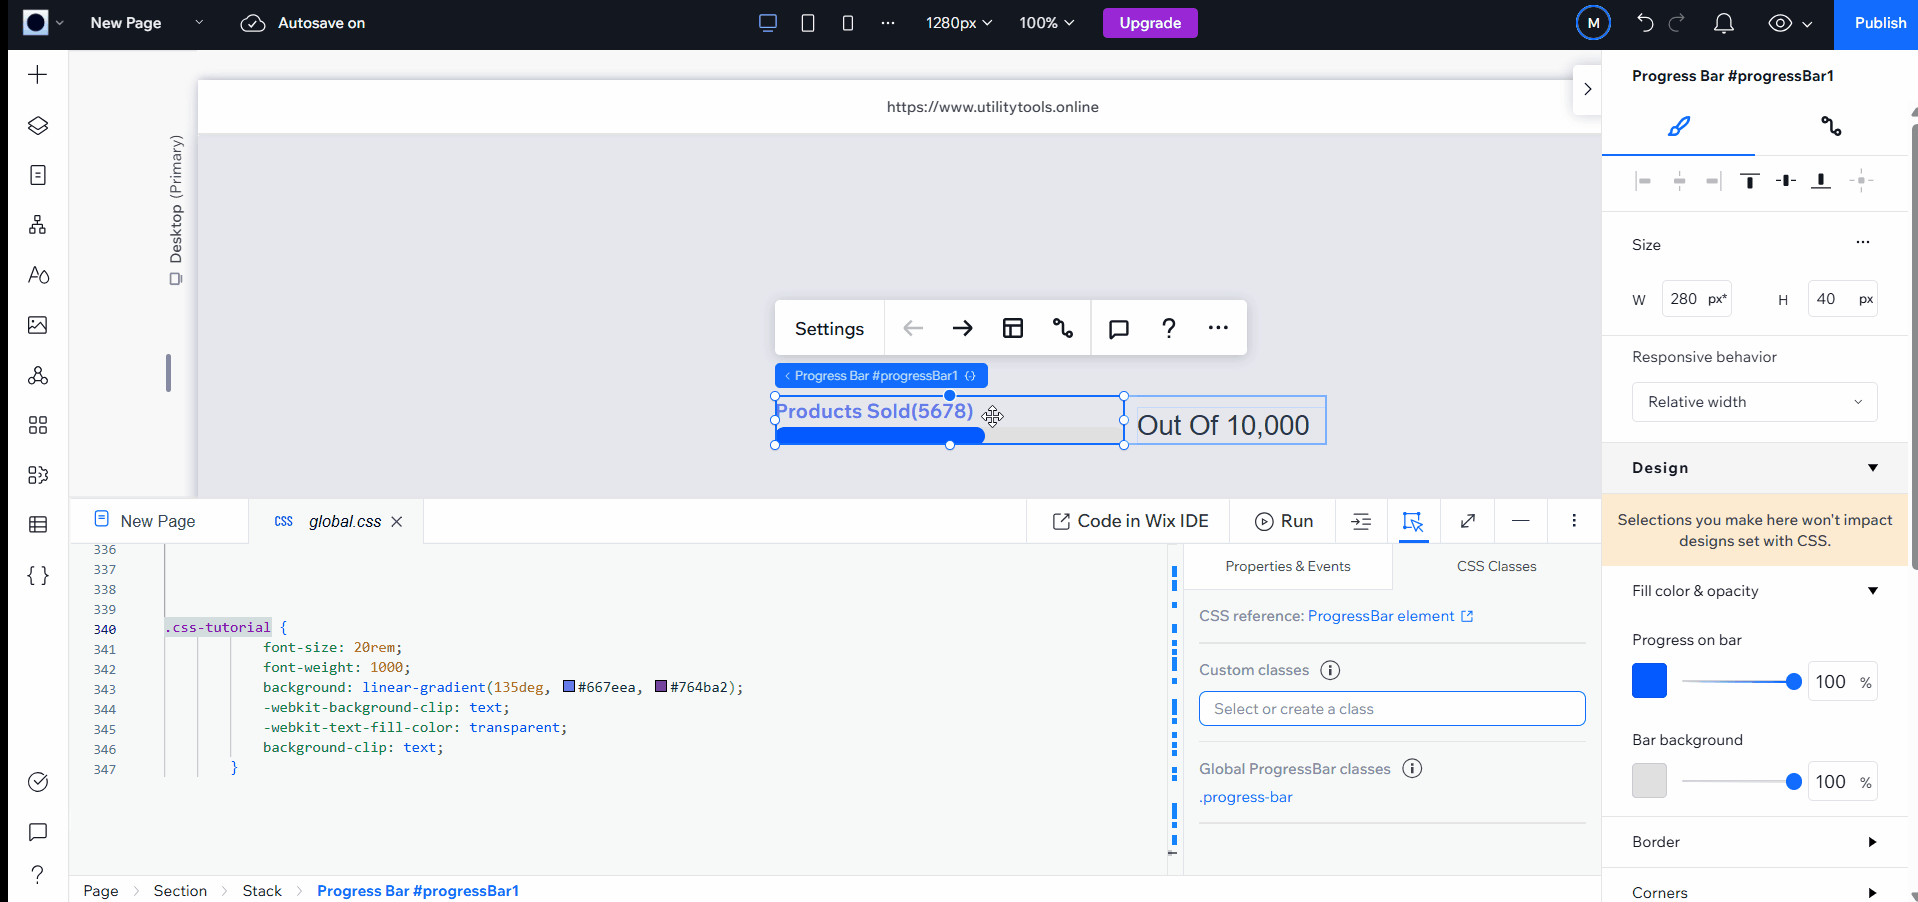
.css-tutorial {
            font-size: 20rem;
            font-weight: 1000;
            background: linear-gradient(135deg, color1, color2);
            -webkit-background-clip: text;
            -webkit-text-fill-color: transparent;
            background-clip: text;
        }
Using this simple CSS code will add a gradient effect to your text in Wix Studio.
Code Explanation
Let me explain the function of the code first, so you can understand how it really works. The first syntax
font-size: 20rem;
font-weight: 1000;
sets the font size and weight of your text. These are optional as you can set them in the text editor as well.
The syntax
background: linear-gradient(135deg, color1, color2);is where you need to add the gradient colors in place of color1 and color2, respectively. From Wix Studio’s perspective, they will be your primary and secondary accents. In the next section, I will explain all the gradient types in detail. For now, let’s continue with the rest of the code.
Finally, we have the syntax
-webkit-background-clip: text;
            -webkit-text-fill-color: transparent;
            background-clip: text;
This is where the actual magic happens. The syntax “-webkit-background-clip: text; ” clips the background of your (Text)element in the shape of the text. It removes everything from the background except the text, creating a mask effect.
On the other hand, the syntax, “-webkit-text-fill-color: transparent;” makes the actual fill color of the text transparent. Thanks to this, we can see the gradient background.
The syntax “background-clip: text;” makes sure that the effect is compatible with the maximum number of browsers; it works the same as the webkit background clip.
Implementing the Code In Wix Studio
Now you know how the code adds the gradient effect, let’s learn the simple process of implementation, ways to edit, and further modify the design, among other things.
The Setup
To apply the effect, you need to first enable the developer mode in Wix Studio. Learn more about it here.
Once you enable the dev mode, you will be able to see 2 panels at the bottom of the website – Properties and Events, and CSS Classes. For this tutorial, our focus will be on the CSS Classes. The following GIF shows it clearly –
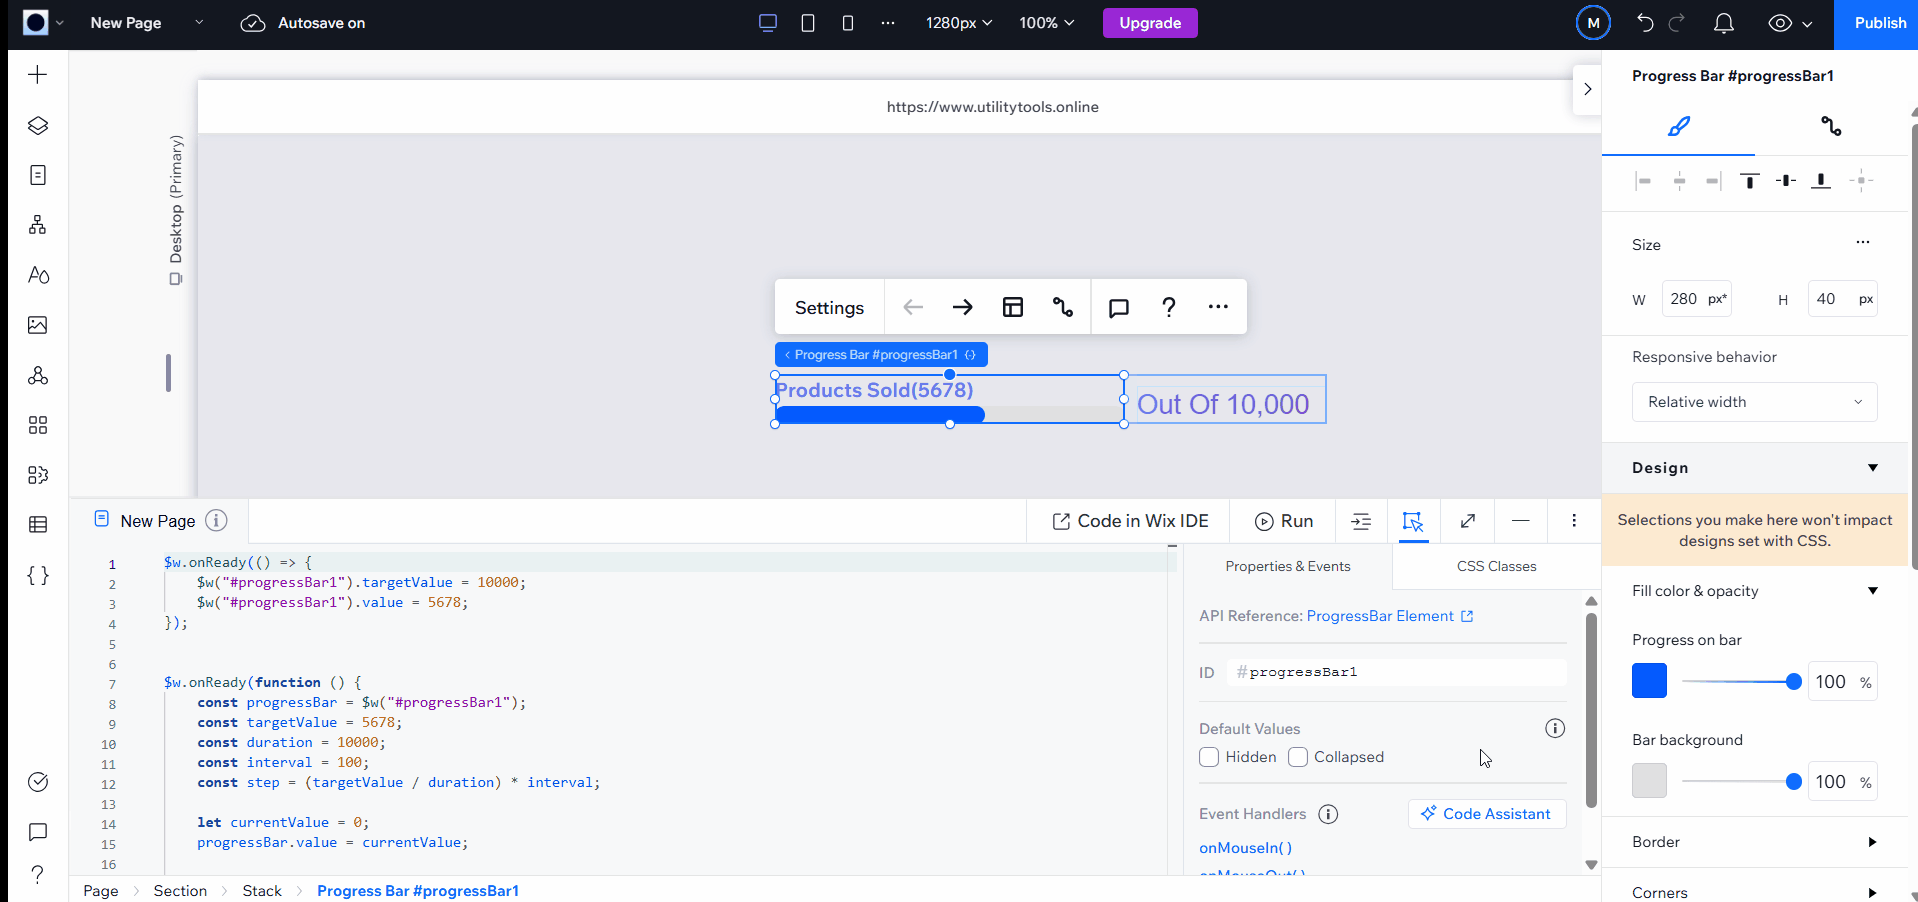
Once you reach the CSS Classes, click on “add global.css” or “open global.css” depending on whether you are opening it for the first time or again.

You can not see the global CSS file. All the CSS code of the website for any page across the website will go here.
Assigning CSS Class
Assigning a CSS class is the next step in adding the text gradient effect. CSS classes are the assigned names to one or more elements.
Here you have two options: you can either apply the effect to all the texts in your website using the global CSS class, or you can selectively decide which texts will show the gradient effect.
If you want to show the effect in all text of your website use the “rich-text” and “rich-text__text” in code in place of “css-tutorial”. But if you want to show the effect on selected elements only, assign any class other than global classes. In our case, we have called it “css-tutorial”.
You can name it anything you like – Goku, Vegita, Pikachu, feel free to name your own CSS classes. Just replace them in the CSS code.
Gradient Options
One of the benefits of using CSS is the exposure to a lot of editing options. The same goes for the gradient effects in the text. Here are all the gradient effects you can add to your text using CSS.
Types of Gradients
These are the gradient types you can use along with the syntax.
Linear Gradient
The colors are in a straight line along a specific direction(left to right, top to bottom, or any angle). Its Syntax is –
background: linear-gradient(direction, color1, color2, ...);You can use any angle, such as 45deg, 135deg, etc., or direction names like “to right”, “to bottom”, “to top left”, etc., in place of the direction.
Add as many colors as you like; however, 2-3 is more than enough. Here is a code example with the effect.
.css-tutorial {
    font-size: 200rem;
    font-weight: 700;
    background: linear-gradient(to right, #ff6f61, #4a90e2, #2ecc71);
    -webkit-background-clip: text;
    -webkit-text-fill-color: transparent;
    background-clip: text;
}
Radial Gradient
In this gradient type, the gradient starts from a central point and radiates outwards in a circular or elliptical shape. The syntax for this type of effect is
background: radial-gradient(shape size at position, color1, color2, ...);The shape can be circular or ellipse; by default, it is set to ellipse. The size values can be closest-side, farthest-corner, or specific values. The position values can be center, top left, or coordinates like (50%,50%).
Here is an example CSS code for a radial gradient, along with its effect on text.
.css-tutorial {
    font-size: 2rem;
    font-weight: 700;
    background: radial-gradient(circle at center, #ff6f61 0%, #4a90e2 50%, #2ecc71 100%);
    -webkit-background-clip: text;
    -webkit-text-fill-color: transparent;
    background-clip: text;
}
Conic Gradient
Finally, we have the conic gradient. This type of gradient creates a conic shape around a center point. It creates a pir chart type of effect in a gradient.
Here is the syntax for this type of gradient –
background: conic-gradient(from angle at position, color1, color2, ...);For angles, you can put any value in degrees, like “from 90deg”; it is the starting angle of the effect. For a position, you can either place a value like “from center” or a coordinate like (50%,50%)
Here is a code example with its result, conic gradient effect.
.css-tutorial {
    font-size: 2rem;
    font-weight: 700;
    background: conic-gradient(from 0deg at 50% 50%, #ff6f61, #4a90e2, #2ecc71, #ff6f61);
    -webkit-background-clip: text;
    -webkit-text-fill-color: transparent;
    background-clip: text;
}
Please note that in Conic gradient the starting and ending colors are same, that is – #ff6f61. This makes the transition of colors smooth. A cool way to make the text look vibrant and smooth.
Frequently Asked Questions
Can we use this code in Wix Editor?
No, Wix Editor does not support CSS yet. Hence, this method will not work in the Wix Editor. However, there are some simple alternatives. You can either use the HTML text using Velo to style the text or simply use the Text Mask Element in the editor.
Can we animate the gradient effect in text?
Absolutely, to animate the gradient effect, use the hover CSS animations with keyframes.
How to add a shadow to text using CSS in Wix Studio?
To add a Shadow along with the gradient, use the following syntax in existing CSS code –
text-shadow: 0 4px 8px rgba(0, 0, 0, 0.4);How many colors can I add to the gradient?
There is no limit on the number of colors. However, in most cases, you will not need more than four colors.
Conclusion
Thanks for reading! If you find this tutorial helpful, make sure to rate the article and let me know your thoughts, questions, and feedback. I respond to everyone.
In the meantime, experiment with the CSS codes shared in this article, play with the colors, directions, angles, and add more effects, animation keyframes, and effects. And if you come up with something cool, share it with other readers of the article as well in the comments section.